


Get 10% OFF your accessories with the purchase of a kayak or paddleboard.
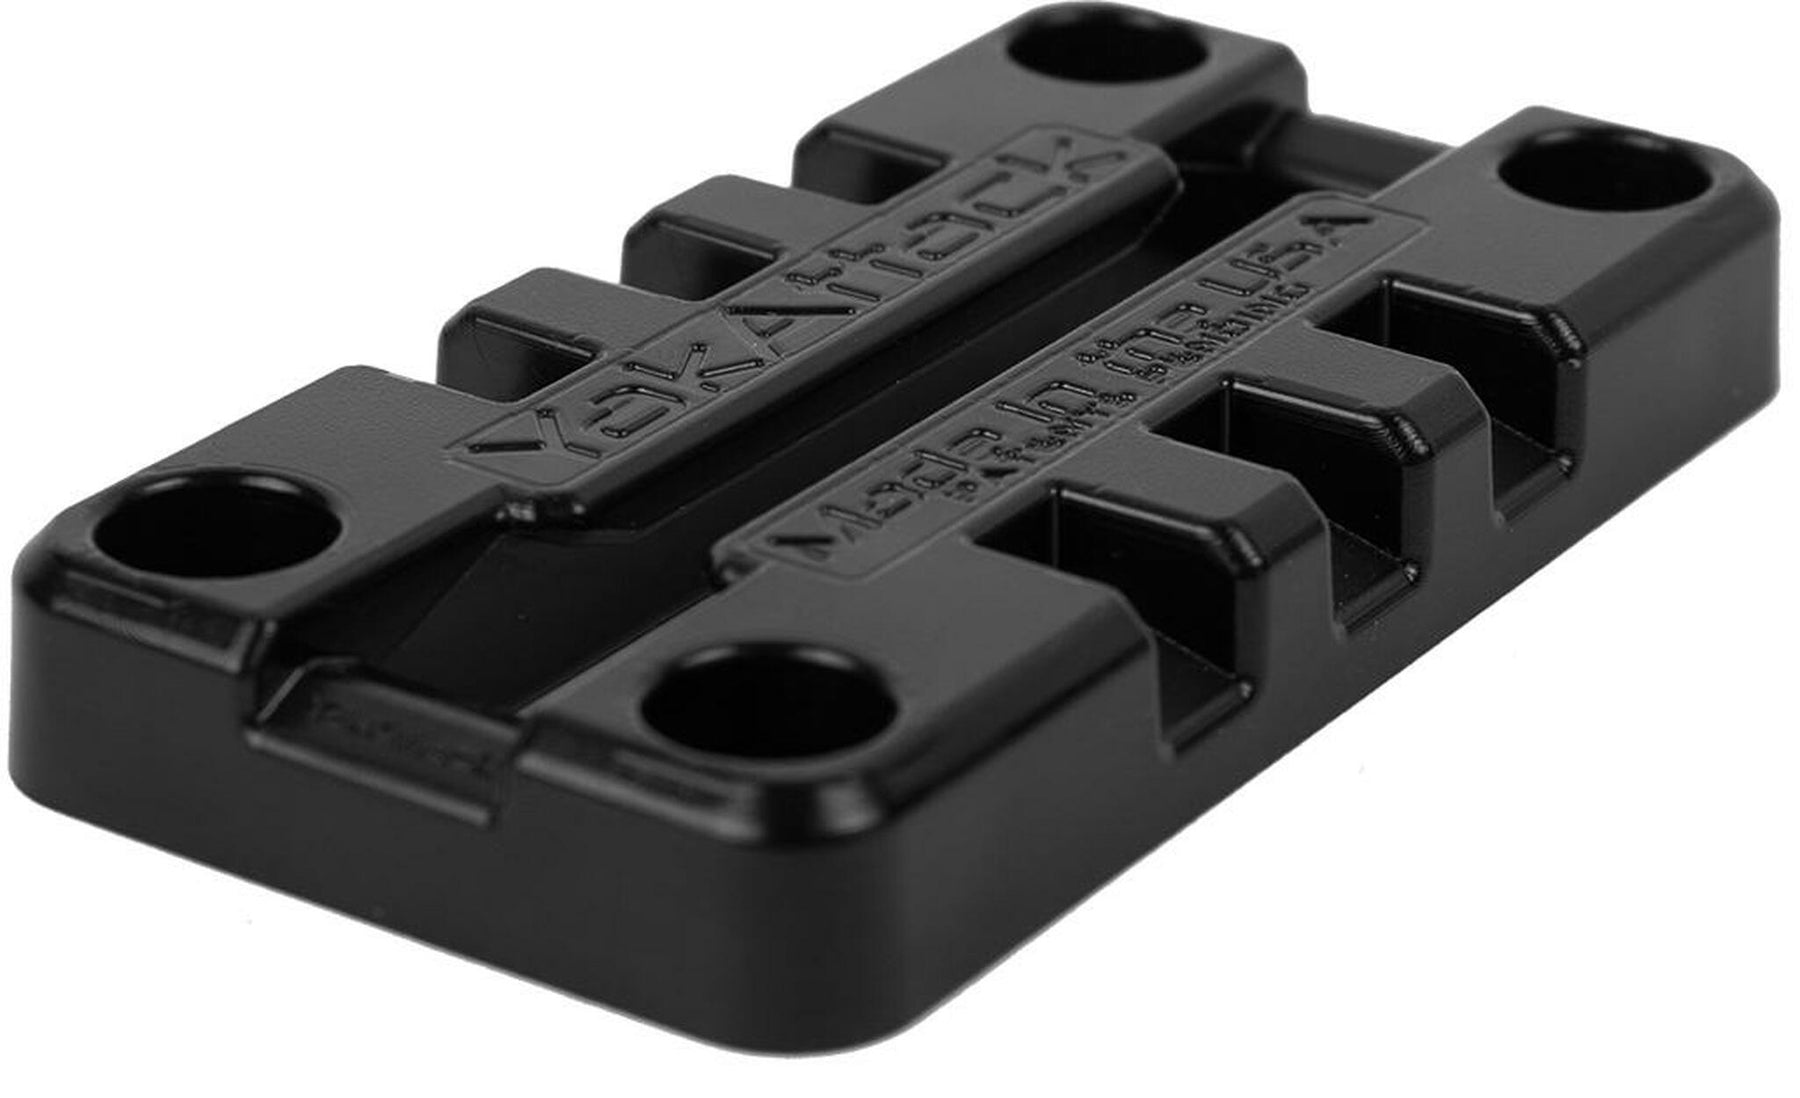
With an identical hole pattern as old school deck mounts this mount can be used to switch to a deck mount that accommodates modern track accessories without the need to drill more holes. Compatible with the YakAttack LockNLoad™ mounting system and with other MightyBolt accessories. For kayaks with pre-threaded inserts, additional hardware may be required.
Instructions for Inflatable Kayaks:
1. Locate the red bag of hardware containing nuts, washers, and LONG screws and discard them. They will not be used for inflatable kayak installs.
2. Position the MightyMount Switch on your YakAttack SwitchPad or other inflatable mounts.
2. Locate the SHORT 1/4-20 x 5/8" long stainless screws in the bag labeled, “Hardware for Inflatable Installs.”
3. Put a dab of Loctite on the threads and insert a SHORT screw into each hole of the MightyMount Switch.
4. Hand tighten with a Phillips Screwdriver until snug. Repeat steps 3 and 4 for the rest of the hardware.
5. After all screws are installed, fully tighten, being careful not to over tighten.
Instructions for Rotomolded and ABS Kayaks:
1. Locate the Hardware for Deck Mount Installs
2. Position the MightyMount Switch on the surface where you want to install it.
3. Using a hole in the MightyMount Switch as a guide, drill the first hole using a 17/64” drill bit.
4. Drop a LONG 1/4‐20 screw through the MightyMount Switch and into the drilled hole. This will prevent the MightyMount Switch from sliding around as other holes are drilled.
5. Repeat steps 2 and 3 for the rest of the holes.
6. Once all holes are drilled, remove all screws.
7. Apply marine sealant as desired into hole and/or on screw threads.
8. Install first screw with washer and nut on inside of hull, but do not fully tighten.
9. Repeat steps 6 and 7 for remainder of screws.
10. After all screws are installed, fully tighten, being careful not to over tighten.
Use collapsible tabs for more detailed information that will help customers make a purchasing decision.
Ex: Shipping and return policies, size guides, and other common questions.